Thursday, August 30, 2012

My Greatest Gardening Challenge Nets My Greatest Gardening Discovery


I was not expecting to move this summer.  We'd started our seeds over winter, planted the seedlings in the ground (and in planters) and were nurturing them along when life said, “don't get too comfortable, now.”

Challenge:  can one move mature garden vegetables successfully?  My instincts told me “no.”  I've gardened most of my life.  I've never transplanted anything in the middle of summer.  That would be begging for trouble.

A googling I went.  Sure enough, there was a how-to video for moving mature tomato plants.  If it works for tomatoes, it should work for peppers, right?  According to the video, we needed to prep the plants by digging around them and breaking their roots, letting them recover from that shock in their original positions by watering them thoroughly over the next two weeks before removing and transplanting.

I would not be moving the plants to another garden plot, though.  I would be transplanting them to planters.  Tomatoes are large plants that need a lot of soil for their roots and plenty of nutrients to support their intense, rapid growth and fruiting.

A project that had been tickling at the back of my mind for over a year was sub-irrigated planters. During my mid-winter gardening research (if I can call stumbling about the Internet somewhat haphazardly 'research') I came across Bob Hyland's Flickr photostream of his research and work with sub-irrigated planters.  Bob is the founder of the Center for Urban Greenscaping and has spent years perfecting the way he makes sub-irrigated planters (SIPs). His photostreams showed convincing results (coffee trees in New York!)  that compelled me to give SIPs a try.  The instructions are sketchy in his photostreams, however, and I felt no confidence in moving forward.  When life suggested I get moving, the time was right to give these sub-irrigated planters a go.  I worked from memory knowing my memory was shoddy at best.  I managed to mash the instructions for smaller SIPs with the instructions for larger SIPs, but the results two months later are great.  From memory, I needed a reservoir for the water, wicking material to draw the water into the planters, and a pipe of some sort to be able to add water to the reservoir without dismantling the planter.  I had forgotten an overflow hole (remedied quickly with a drill).

I gathered food-grade plastic five gallon buckets for the tomatoes and other, smaller ones for the peppers.  Since the pepper plants were small and easy to work around, we transplanted those first.  Once they were in the planters we positioned the planters in mostly shade and watched for signs of shock.  One plant pouted a bit – the leaves and stems were droopy that day and the next.  By the third day, the droopy plant was fine as were all the other pepper planters.  This was back in June.

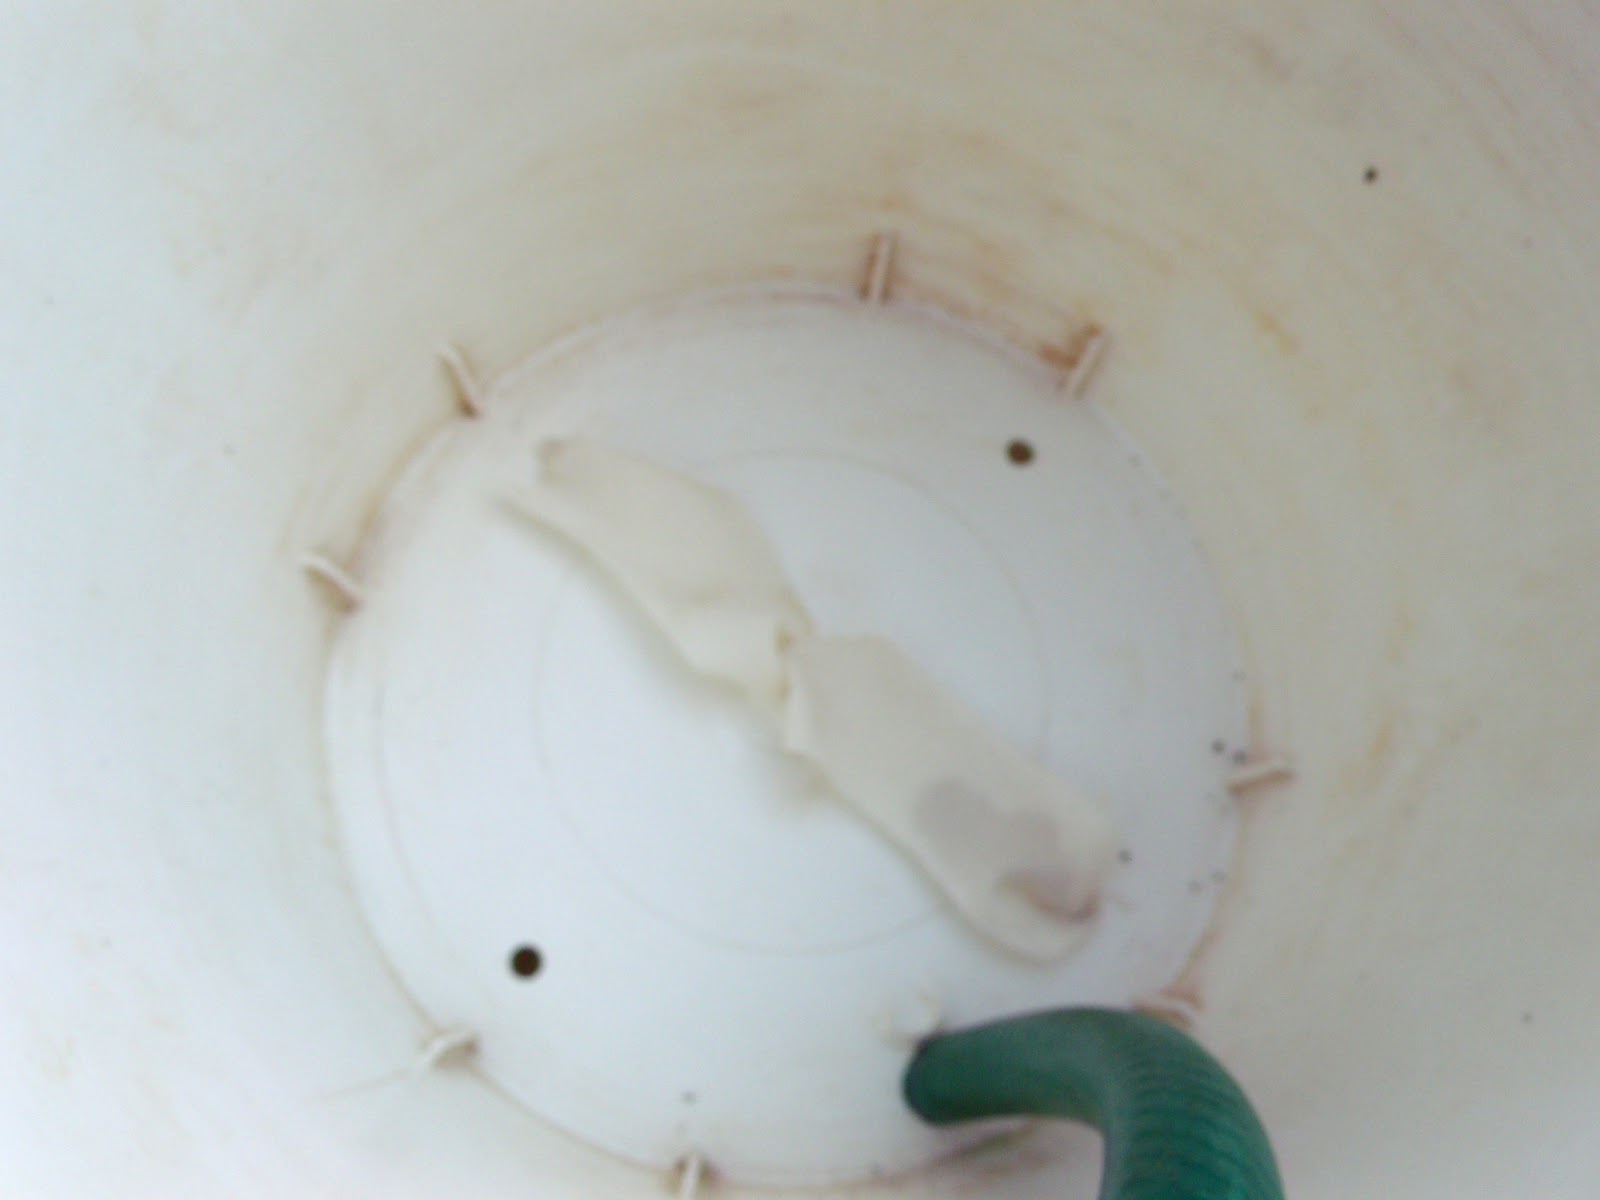
Inside of planter bucket.  Wicking material is poly fabric.  Section of garden hose  is  used for refilling the reservoir.
Wicking material hangs down into water of reservoir.  (This is the part I got wrong, but seems to have worked throughout this season.) 
Newly transplanted.  
I use a funnel to add water.   
We went on to transplant 12 pepper plants with equal results and three tomato plants.  The tomatoes were enormous!  They wilted terribly when moved, despite having prepared them 10 days previous.  We stopped at the third plant because we didn't think they were going to make it.  During the actual move, one of the tomato plants dropped 30 green tomatoes.  I thought for sure these plants were going to succumb to the shock and die.
It's a beast! 
They did not!  They rallied and within a week were no longer wilted or drooping.  I damaged one of the plants trying to stake it after transplanting it when it was wilting so severely.  I broke several branches and decided to stop there and never staked it.  Of course, none of this was ideal for the tomatoes.  Saving the three plants we did, we've been able to put up enough sauce and chopped tomatoes for a winter's worth of spaghetti, soups, and chili!

All the planters in their new home. 
The peppers, though, have behaved as if nothing ever happened.  They've produced heavily.   I did not have time to make all the transplant containers sub-irrigated and not knowing if SIPs would make much difference anyway, several of the planters are just regular drain-holes-in-the-bottom planters.   And this is where my big discovery comes in.  Since June in record-high temperatures with record-low rainfall, I have had to add water to the sub-irrigated planters TWICE!  Twice!  The regular planters all must be watered daily, twice a day on very hot days!  Not the sub-irrigated planters.  This is astounding!  I do fertilize with a liquid fish and seaweed emulsion once a week for the peppers, but that is it.  Every day I check my planters and every day the soil in the SIPs is moist.  This is a Very Big Deal!  I imagine I save about a gallon of water a day on each sub-irrigated planter.  The plants in them are happy, healthy, and incredibly productive!

SIP on left.  Standard planter on right.  Note how dark and glossy the leaves are on the SIP and how pale the leaves are on the pepper in the standard planter.  Soil is the same.  Fertilizing schedule is the same.  The only difference is the water reservoir on the SIP.  (Can you see I added an overflow hole on the SIP bucket? )

You can bet every planter I make from now on will be sub-irrigated!


 As a PS, I don`t want anyone to confuse or conflate SIPs with self-watering planters.  You can buy self-watering planters just about anywhere now-a-days, but commercially produced SIPs are hard to come by.  Earthbox is one and there are others. I have several self-watering planters and my experience with them is that they don`t make much difference at all from standard planters.  Using them outdoors, I need to water as frequently as I do with any of the standard planters.  I suspect that the large fill hole in the side of the planter allows for evaporation.

This is a self-watering planter with 4 peppers in it.   The seashells are only there to keep the squirrels from digging.  I overcrowded this planter and clearly not enough nutrients are getting to the one super cherry plant in the foreground.  (There are four pepper plants in this planter.  Ideally, there would only be one.  These are not transplants, however.  They started out this way.) 

I'm sure the reservoir hole allows for evaporation.  I have to fill this daily, sometimes twice daily.  

Monday, October 17, 2011

Old gardens, new gardens and resolutions

Three years ago we moved and I left behind the gardens I'd worked so hard to build.  It was a difficult, but necessary move.  In return visits I see the new owners have dug up or mowed over the 40 hostas and bed full of ajuga I'd planted.  I got a hernia planting that particular side yard.  Trees and bushes have been left to sprawl and the rock garden looks like a weed bed as it hasn't been tended at all.  It's a painful thing to see.  I know they are no longer mine, but all that work and effort has truly become a waste.

Because of that, I've taken a different approach to my gardening.  It is entirely for my enjoyment and more utilitarian than in past.  I know that we will not be at this location forever, either, so I'm not expending a great deal of efforts on permanent gardens.  Instead, I'm using more planters and the beds are full of annuals.  They can easily be seeded with grass once we're done here.

I like planters because they are portable, I control the growing medium (instead of the soil controlling me as is often the case with difficult soils), I can manipulate the light they receive easily, and one planter is more easily remedied than a bed full of disease or pests.

I've been avidly reading Question and Planter.com  for tips and suggestions and finding that I seem to hoarde the knowledge I've gained over the past 30 years to myself.  It isn't intentional.  I often do not realize that some of what i know is not common knowledge. Not everyone grew up with a landscaping father who taught his kids as much of what he knew as he possibly could over the years.

I'm not making promises as I'm fairly busy, but I am going to try to post more frequently and share information that I find invaluable even if I think it is common.

Are you planning next years' gardens yet?

Sunday, July 20, 2008

Rachel, Rachel, How Does Your Garden Grow?

Well, it grows and grows and grows. In some places it grows almost wild!

If you click on the individual pictures, you'll be able to see a larger version with a bit more detail.

Below is our pepper patch. There are about 30 plants here. We have habaneros, California Wonder, Mini Bells, hot banana, mild banana, hot hungarian, pimiento, carmen, jalepeno, ring of fire, and a couple more, too! Yes, we like peppers. I like the mild ones fresh in our salads or as crudite. We love pickled hot pepper rings, so we'll be canning a good bit of those. We also like the hot ones in stir fries, Mexican dishes, eggs, etc. I'll freeze a good many, can the hot rings, and the rest will be eaten fresh. Yum Yum!

Oh, do you like the path we installed in the garden this year? It was much needed. The garden is too wide to reach the centers from outside and we were trampling the soil something awful last year. So we dug out the center and poured rock to a foot deep running the whole center from one end to the other.

Now look how much bigger the peppers pictured below are than the ones in the first picture. Would you like to venture a guess why they're so much bigger than the others?
Okay, they were planted a little bit earlier than the others but only a week or so. Early on, the squirrels came by and topped each of these pepper plants. That's right, took the whole top of the plant! I don't know why they do this, but they do this every spring! They'll do it to tomatoes, too. Which is why we built this little surround for the peppers so that they wouldn't take any more of the plants than they already had. Many of the plants were down to two leaves. We didn't think they'd make it. Do you think those squirrels are doing us a favor? It does bear some consideration. In order to have bigger plants that set more fruit, you're supposed to pluck the first blossoms. (This does work, too. The plants in the first picture were deflowered after I took that photo and they're already bushing out.) So perhaps having the squirrels top off our peppers every year is the squirrel's way of giving back. I don't know.

Below is the boys' bean tee-pee. The beans are much bigger now. Today was just too busy to take another picture. I can hardly wait until they're all the way up the tee pee! Notice how richly green the grass is that immediately surrounds the growing beans. Legumes fix nitrogen in the soil ... seems to be working.
Now I've got to talk about soil. Below is our newest vegetable bed. Isn't it a pathetic thing? I am extraordinarily disappointed in the soil we bought for this box. I am also disappointed in the seeds for my bush beans as only 1 out of 10 germinated. Even after replanting we had the same results. Those are no good. Yet they're from the same company that packaged our vining beans and those did just fine and germinated at about 100%. More about the soil after this picture.

I would recommend the quad mix from Trail's End (that's what's in my other bed, where the peppers are) but they're no longer carrying it. I went with their triple mix this year and I am sorely disappointed in it. Whereas the quad mix drains very well, yet has a high humus content to conserve moisture during the dry spells, this triple mix is lacking. It drains too well. It is dry most of the time. I have ammended it with two different composts and I will be covering it with mulch next week. My plants have been stunted in this material. Things I started from seed barely germinated (most likely because the soil dries out so quickly.) I can completely saturate the soil at night and by mid morning it is extremely dry. This is awful. I think they should take it back next year and tell me where to go for the quad mix!

How about a few flowers:

Calendula: self seeds like mad, but it's good for bug bites and summer-long colour so I like it. (But I am removing the seed heads!)


This is a gorgeous Brown-Eyed Susan. The photo does it no justice. I can't tell you the variety right now because I can't get to the plant tag, it's buried in all the greenery behind it somewhere. It is a type of Rudbeckia, just not sure which one.


And I have these lovely "Summer Sun" Oxeye Daisies. I just love these. They're a bright yellow, with a yellow center and so cheerful -- covered in flowers all summer long. I'm so pleased with it I'll be splitting it up and moving it into the new beds I'm creating out front next year.

There are a few things in the picture below. I'll try to point them out to you without much confusion. Do you see the yellow-green leaves growing along the ground? That is creeping Jenny. I love the stuff. It's just so lovely. The purple and white clouds of flowers are annual Alyssum, one of my favourite flowers. They have a very sweet scent that wafts across the air with every breeze. The white Alyssum self-seeded from last year. That's okay. It's welcome here. In the background is a nice clump of garden oregano. It's doing quite well for having been transplanted just this spring.


That poor solar light. The $1 lights just don't hold up too well. I might have to break the piggy bank and invest in some $2 solar lights.

I'll have some more of the gardens, soon.

Saturday, May 17, 2008

The Water Garden

This was our first big undertaking this year. Starting April 5th, which was the first warm, sunny day after a winter that was three years long, we dug out the hole for our 55-gallon drum that would become our water garden (miniature pond).

The ground was nice and soft thanks to the heavy snows finally melting. It's awkward digging a hole 2.5 feet deep and only 2.5 feet in diameter. We made it a little wider and filled in the edges after setting the drum. So just how does one go about digging a hole 2.5 deep and 2.5 feet in diameter? First, one gets a shovel. Or two. Next, one employs readily-available and free child labour:


As you can see, the hole's not quite deep enough so we had to dig it some more. Then we set the empty drum in the hole until we got some bricks to put inside:


3 cinder blocks are arranged inside. These will be plant shelves as well as safe hidey-holes for the fishies who might need to get away from neighborhood cats, herons, or children. We filled the barrel with water, refitted the lid and left it until the moment I learned that Canadian Tire had floating solar water fountains. I ran out immediately and snatched up one of the last two on the shelf. WOOHOO! We had a nice little fountain going there for a couple weeks with nothing other than cinder blocks to keep it company. It only runs in full sun (and sometimes when it's only slightly overcast) so by afternoon it has shut off as the pond is in full shade by 2pm now. That's getting later every day and by the height of summer, the fountain will run until 6 or 7 pm.

On May 9 I bought the plants and placed them in the pond. We also took a couple trips to get the fish. First we went to the Koi Pond in hopes that they would have shubunkins (which are smaller and cleaner than Koi.) No such luck. He tried to tell me he had some shubunkins, but I saw everything he had, and everything he had cost TOO MUCH and was ALL KOI. So off we went to Petsmart. They had lots of choices. We settled on the 27 cent feeder goldfish. I figured if they died overnight, we wouldn't be out a bunch of money. We bought four: two orange with black markings and two orange with white markings. The fish are thriving in their new home! It's been a week, we still have four fish, and a couple of them are significantly larger than they were a week ago. Now they're even staying visible when we come to feed them.

This weekend (May 15) we started purchasing our bricks to surround the portion of the pond that is above-ground.

Do ya want to see it? Now keep in mind, we're only buying some of the brick at a time, so the brick surround is not completed. It will be in a month or two. I also removed the fountain to take this pic. I'll take another with the fountain in all its glory tomorrow.


Yes, that's a toy boat in there. That little boy had to dig that hole, he should get to float his boats in the water! As you can see, I also transplanted some day lilies (tiger lilies, ditch lilies, whatever you want to call them -- they're the standard orange flowered lily) behind the pond. I didn't want them where they had been and they'll look nice back there.

A closer look at the plants:


and what they are:

Can you see that oblong shadow at the end of the arrow denoting a fishie? Yes, it's a fishie! The water's not actually murky. It was dusk when I took this picture so it's dark down there. I also have a waterlily under where the front hyacinth is floating. It hasn't grown enough to float on top of the water, though.

Here is what each of the plants will look like when they're blooming and mature:
All my water plants are hardy in our zone (Canadian 6b, US 5b) and will survive the winter. The fish will also survive -- they're they reason I planted the whole barrel instead of cutting it in half and having a patio water garden. I may need to do something to keep the water from freezing, and I will cover the pond to give it more insulation. I also want to get a couple snails to keep things tidy in there. And we'd all like to have a frog.

Next up, the weed bed....

blogger templates | Make Money Online